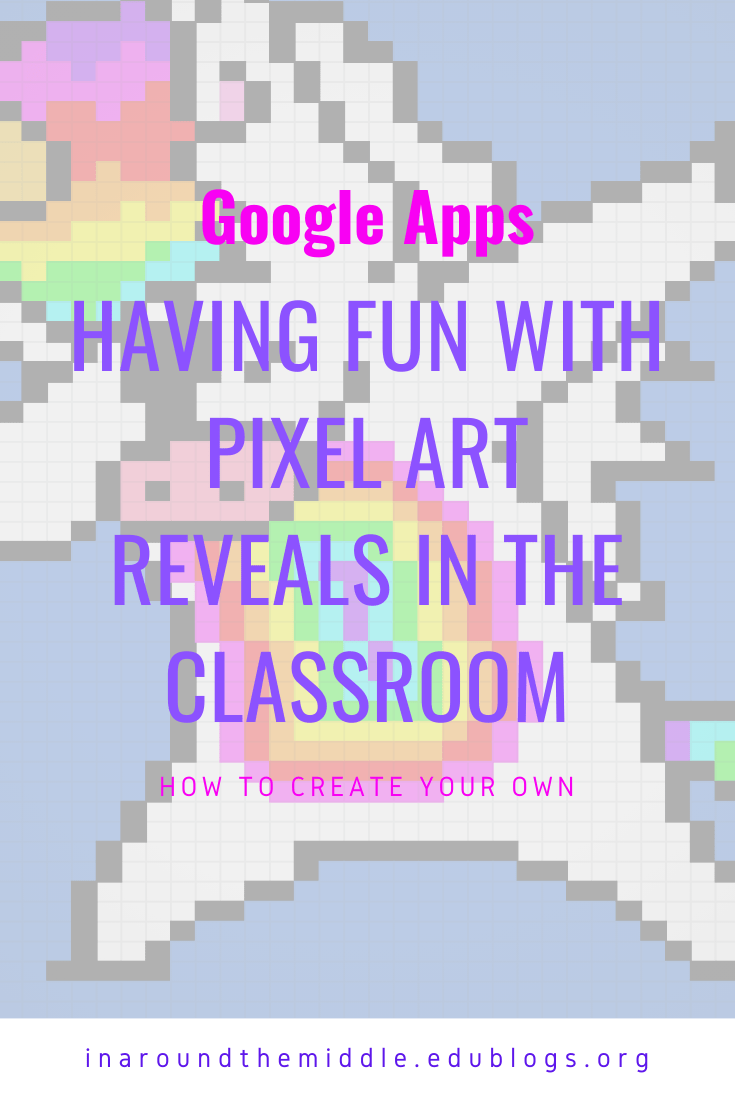
Having Fun with Pixel Art Reveals in the Classroom
 I mentioned in my last post that I was going to teach myself how to make Pixel Art Reveals (also called Lite-Brite art) to use in my classroom. Now, I’m at a school with 1:1 BYO Chromebooks and we used Google Classroom even before Covid-19, so I know that the ways I could use this wouldn’t change 12 months from now, and let’s face it, I thought it looked pretty cool when I did it so knew the kids would love it. Besides, I figured I could use it across subject areas, not just math, though math is where I started. For those who don’t know what Pixal Art Reveals are, they are built in Google Sheets/Microsoft Excel and when students put in the correct answer a pit of the pixel art is ‘magically’ revealed. So basically fun and self-marking – win/win! If you’re looking to create your own there are basically 2 stages: building your pixel art, coding and dismantling your pixel art.

The Awesome Box
To create your pixel art start off in Google Sheets (or Excel but I use Sheets). To begin with you want to reshape your cells so they are all square shaped. To do that you need to click on the ‘Awesome’ box which is located to the left of cell A and above cell 1. Clicking this box selects all your cells at once. Once they’re all selected hover your pointer at the top of cell A where it meets cell B, you should get a blue arrow. Use the arrow to draw the cell to a square shape. All the cells will now snap to the same shape. Keep fiddling until you are happy with your square (this can be fixed up after you’ve made your pixel art so don’t worry about it too much). Now while the cells are still all selected go to Insert – 26 columns right. This will give you enough cells to work with.
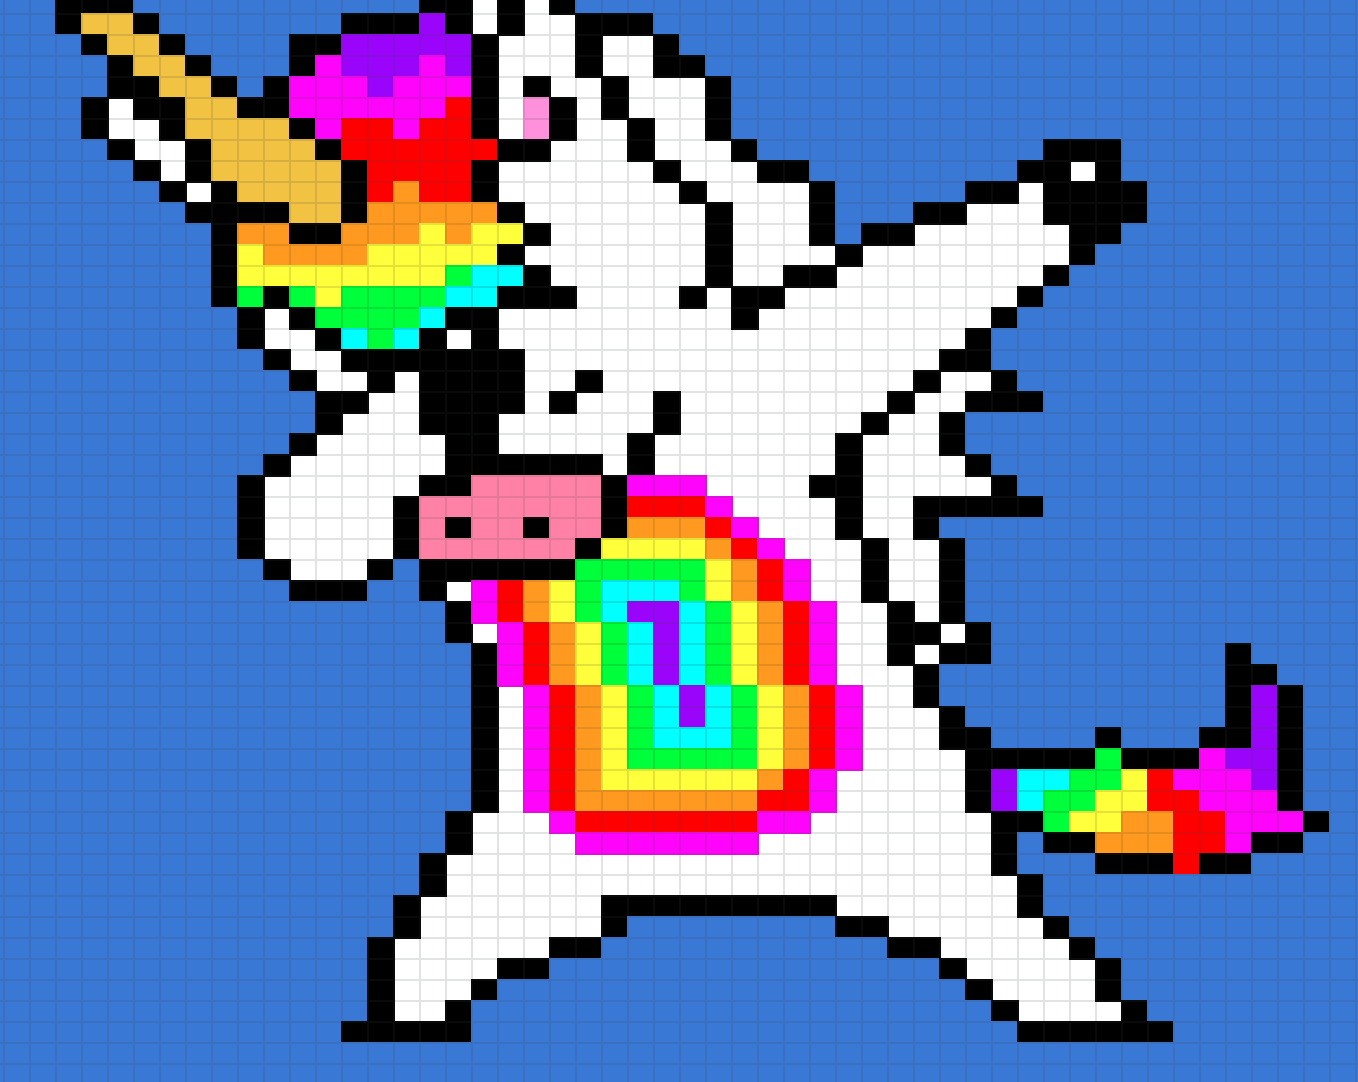 Now you are ready to create your pixel art. Start with a simple artwork the first time you do it. Hop over to Google images and search pixel art. Find one you like that clearly shows the lines between each square (easier to start with) and save the image. Now go back to your Google Sheet and put your cursor onto the sheet somewhere and select insert – image – image OVER cells and choose the image you saved. Now you can recreate the image next to it. Simply choose a square cell to start with that will allow you room to build as needed. Now click on your fill button and fill that square with the colour you want. I tend to build mine by doing lots of the same colour to start with, that way I can just hit copy/paste in the other cells. You can also drag and select a group of cells at once to paste or fill to save time. Keep going and create your pixel art.
 Once you have finished created your pixel art I delete any cells above my art work by selecting the number column on the left and edit – delete row. I then repeat for the columns, leaving column A/B free for my questions and answers. I generally want my picture to start from around cell D1.
Now comes the time to code my magic and dismantle my pixel art. Before you start the next part I recommend you make yourself a copy so you keep a clean version of your art if you want to use it again with different questions/answers. Before you start on the coding you need to decide how many question/answers you want your students to answer because this will determine how much/little you reveal with each questions. You need to leave enough of your picture to reveal for all of your questions. Once you’ve decided this you are ready to code.
 I start by writing Question and Answer in Cells A1 and B1. From now on I will be working just in column B. Start off by selecting cell B2. Go to Format – Conditional Formatting and it Formatting Rules will pop up on the right of your screen. In the middle of this you will see where it says Format Cells if…. select the drop down menu and choose Custom Formula is (should be right at the bottom). In the box underneath type in the code =$B$2=1 For the moment the number 1 is just a place holder for you. This is where you put the correct answer you want your students to give. I put in 1 because it’s easy to test that it’s working and I can worry about fully developing my questions/answers later. The B2 part of the code references the cell you want students to write the answer in. So basically the code says when you put in the number 1 into cell B2 that you want the program to do something. Now we need to tell it what to do when the correct answer is put in the cell.

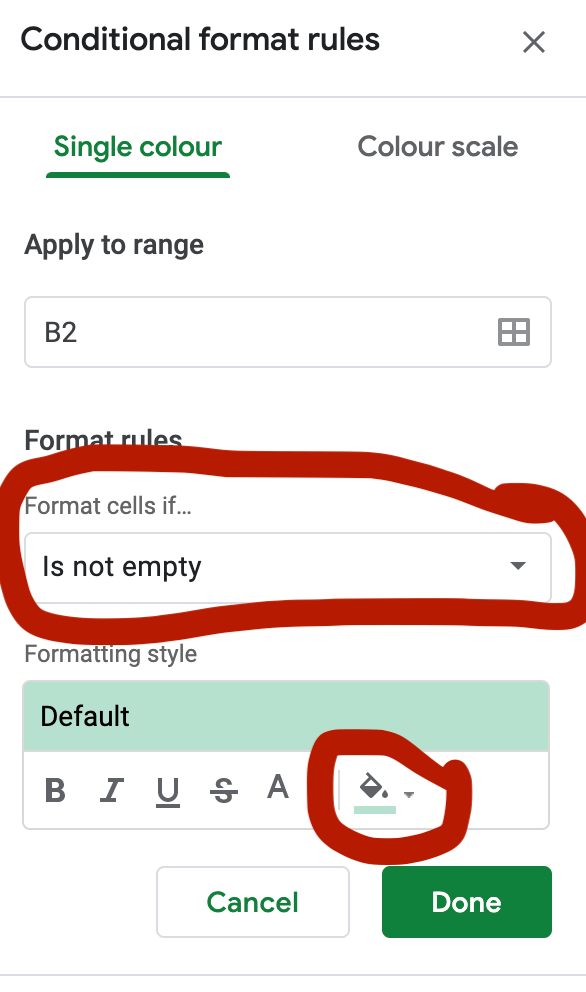

 Go to formatting style and choose the fill container (see picture above middle). Choose the matching colour of the part of your pixel art that you want to reveal with that question/answer. All of the colours used in your artwork will be there, including any custom colours you used. Once you’ve selected the colour go up the top of the Conditional Formatting Box where it says Apply to Range and select the 4 box square. Another box will pop up (see picture to the right). Now you want to click on the cells that you want to appear when the student types in the correct answer to the question (the part you choose the colour for). Press down the command button (Mac) or Ctrl (Windows) to select more cells of groups of cells to reveal. How many you select will depend on how many questions you want students to answer. For example, if you are asking 10 questions then you want to reveal around a tenth of your pixel art each time. If you are asking 25 you want to reveal a 25th each time. Once you’ve selected all the cells you want revealed click ok. Now click done at the bottom of your Conditional Formatting box. You cells should still appear selected. Go up to your fill bucket and click reset (see picture below). Your cells should now be empty – time to test your code. Go to cell B2 and type in your answer (1) and your cells should reappear filled. If it doesn’t then go back and check your steps (remember, undo is your friend here).
 Once you’ve tested your answer and your cells reappear coloured in, erase your answer and select the next cell underneath (B3) and repeat the process above changing the code to =$B$3=1. Keep repeating the whole process testing as you go until all of your pixel art has disappeared. Just because I’m a bit paranoid I then go back at the end and type in 1 to all my answers in column B till my pixel art is complete again.
Now you can go and create your questions and answers you want your students to work on. I create Google Slides with each questions and give my students working out sheets so I can see their work/thinking for some activities. Other more simple ones, such as times tables practice, I simply type the question into my column A for them to answer in column B. Once you have written all of your questions and answers you will need to go back into each code and put in the correct answer in place of number 1. So if your question was 5X7= your code would now read =$B$2=35 A note on the coding – if you are wanting an answer that is not a number you need to put the answer inside quotation marks. So if your answer was the word- painting – you would make your code =$B$2=”painting” If you can’t find your conditional formatting when you go back to put your answers in, just click the awesome box, go to format – conditional formatting, and they should all appear on the right.
This may sound complex but it is a lot of fun and if you want you can reuse each of your pixel arts by making a copy and changing the answer part of the conditional coding. It’s also great for early finishers – I have my class calculate the area/perimeter of certain colours or the whole art work or even have them create their own pixel art for me to use (which they absolutely love doing by the way – a great digital media activity). I haven’t taught them how to code yet but figure that will be my next step. I can only imagine the quizzes that will start appearing after their presentations once they’ve learnt how to code their own pixel art!
I’ve put a few up in my TPT store if you want to check them out including a freebie for multiplication. None are locked so after using them you can always go in and make a copy, change the answers and use them again with your own questions too now that you know how!


hello